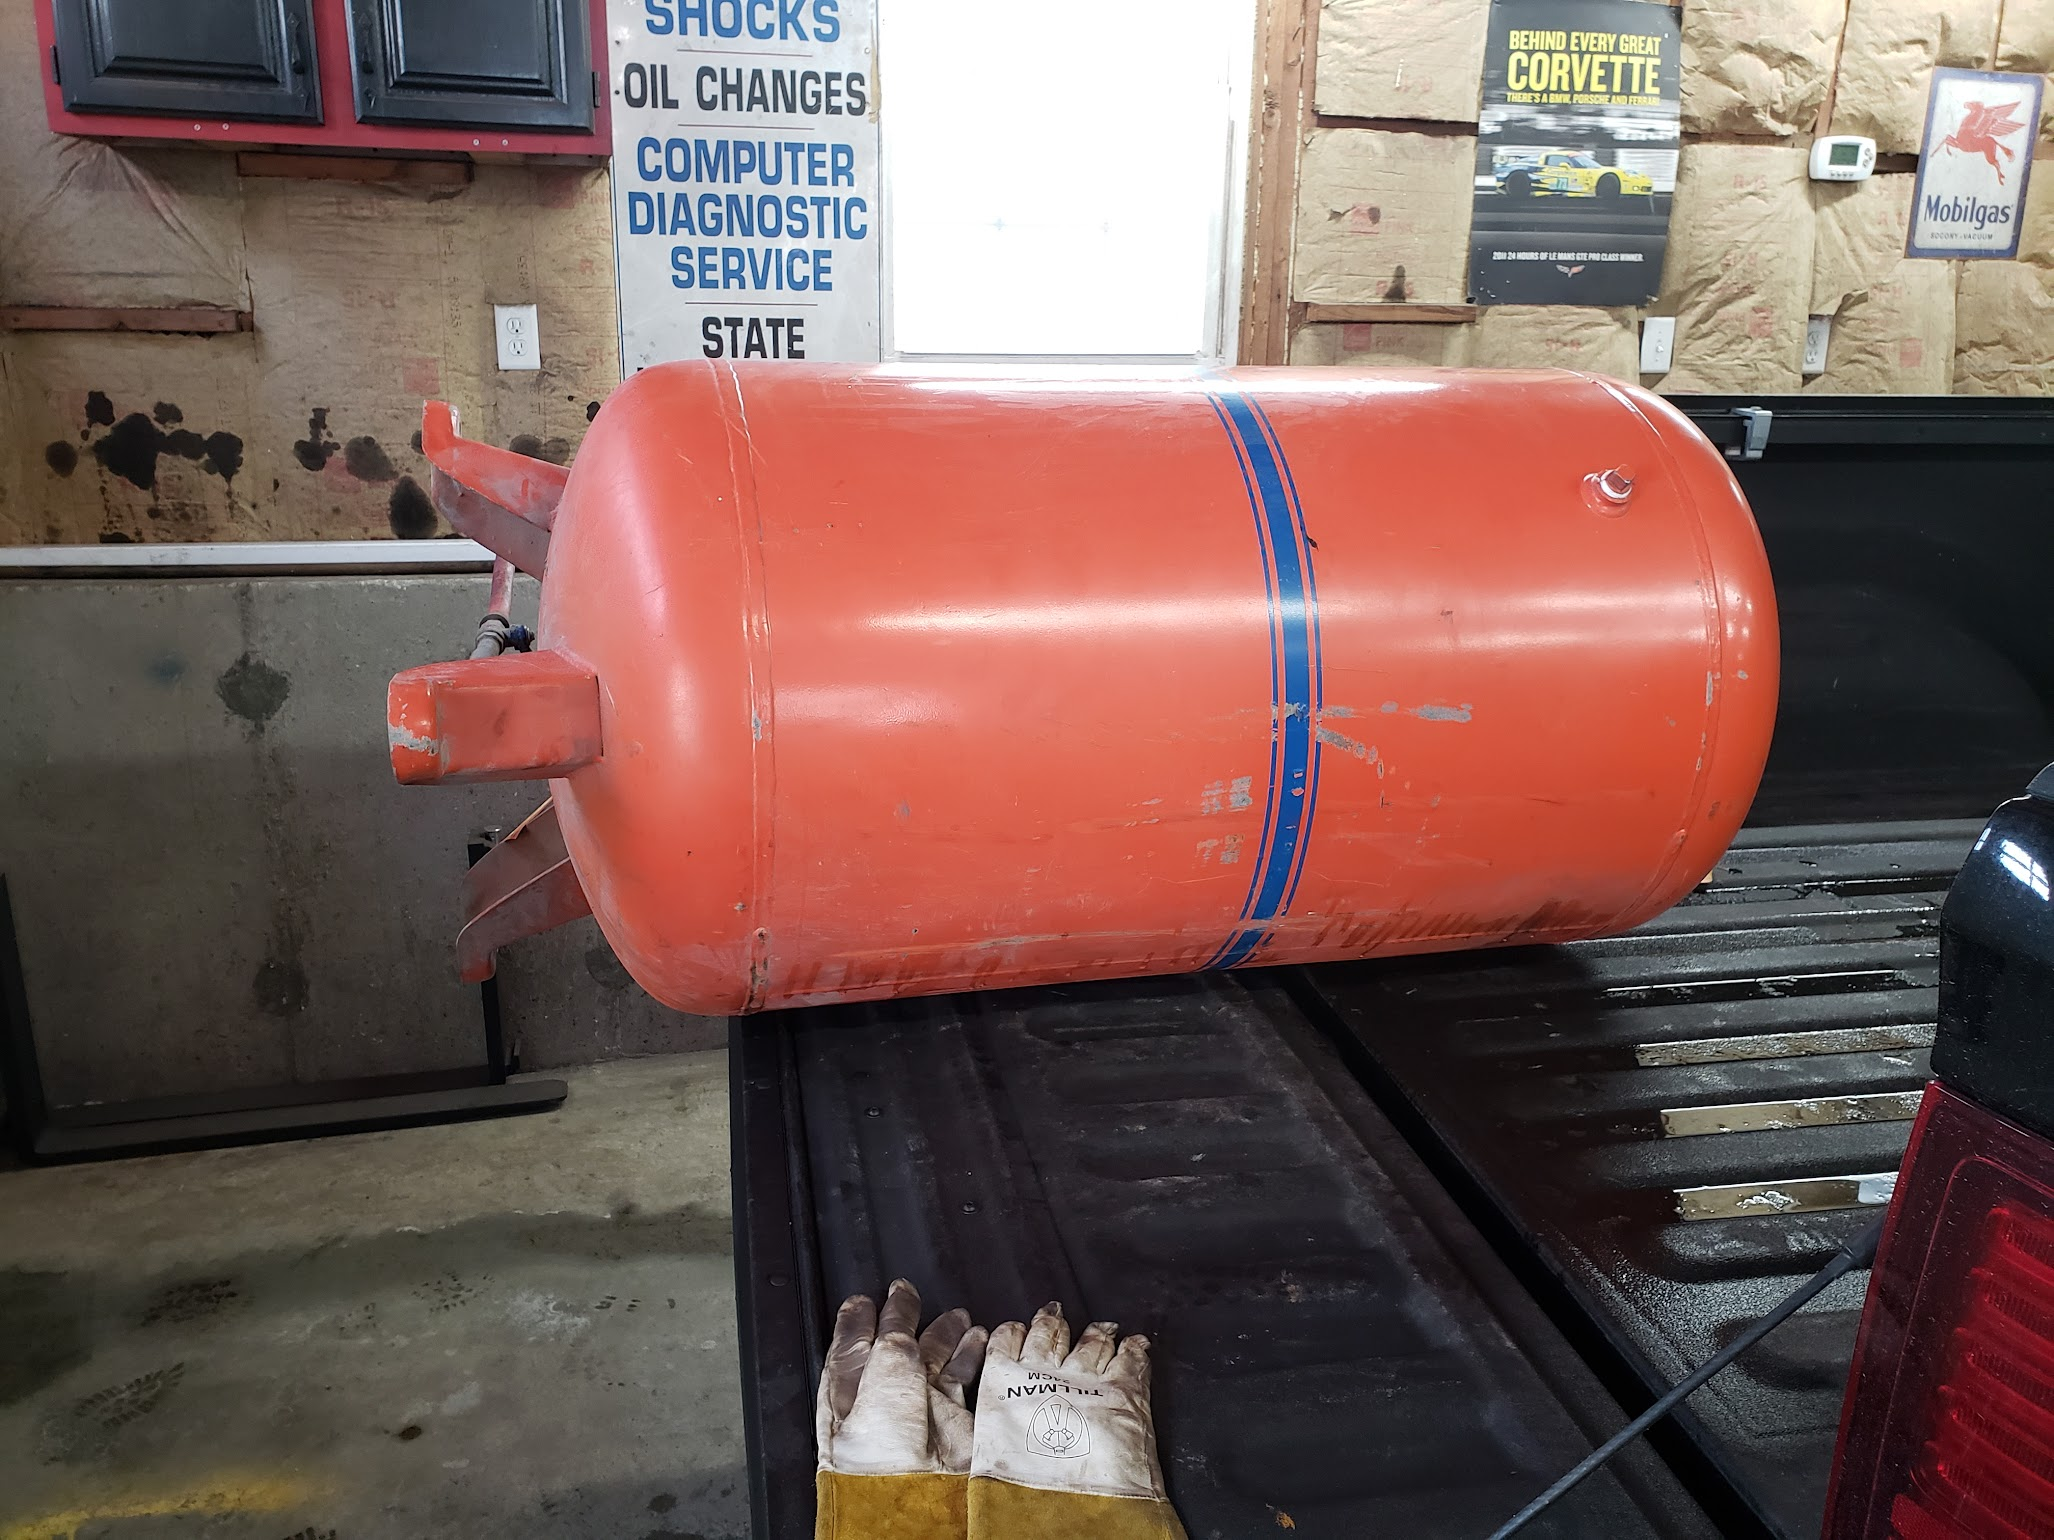
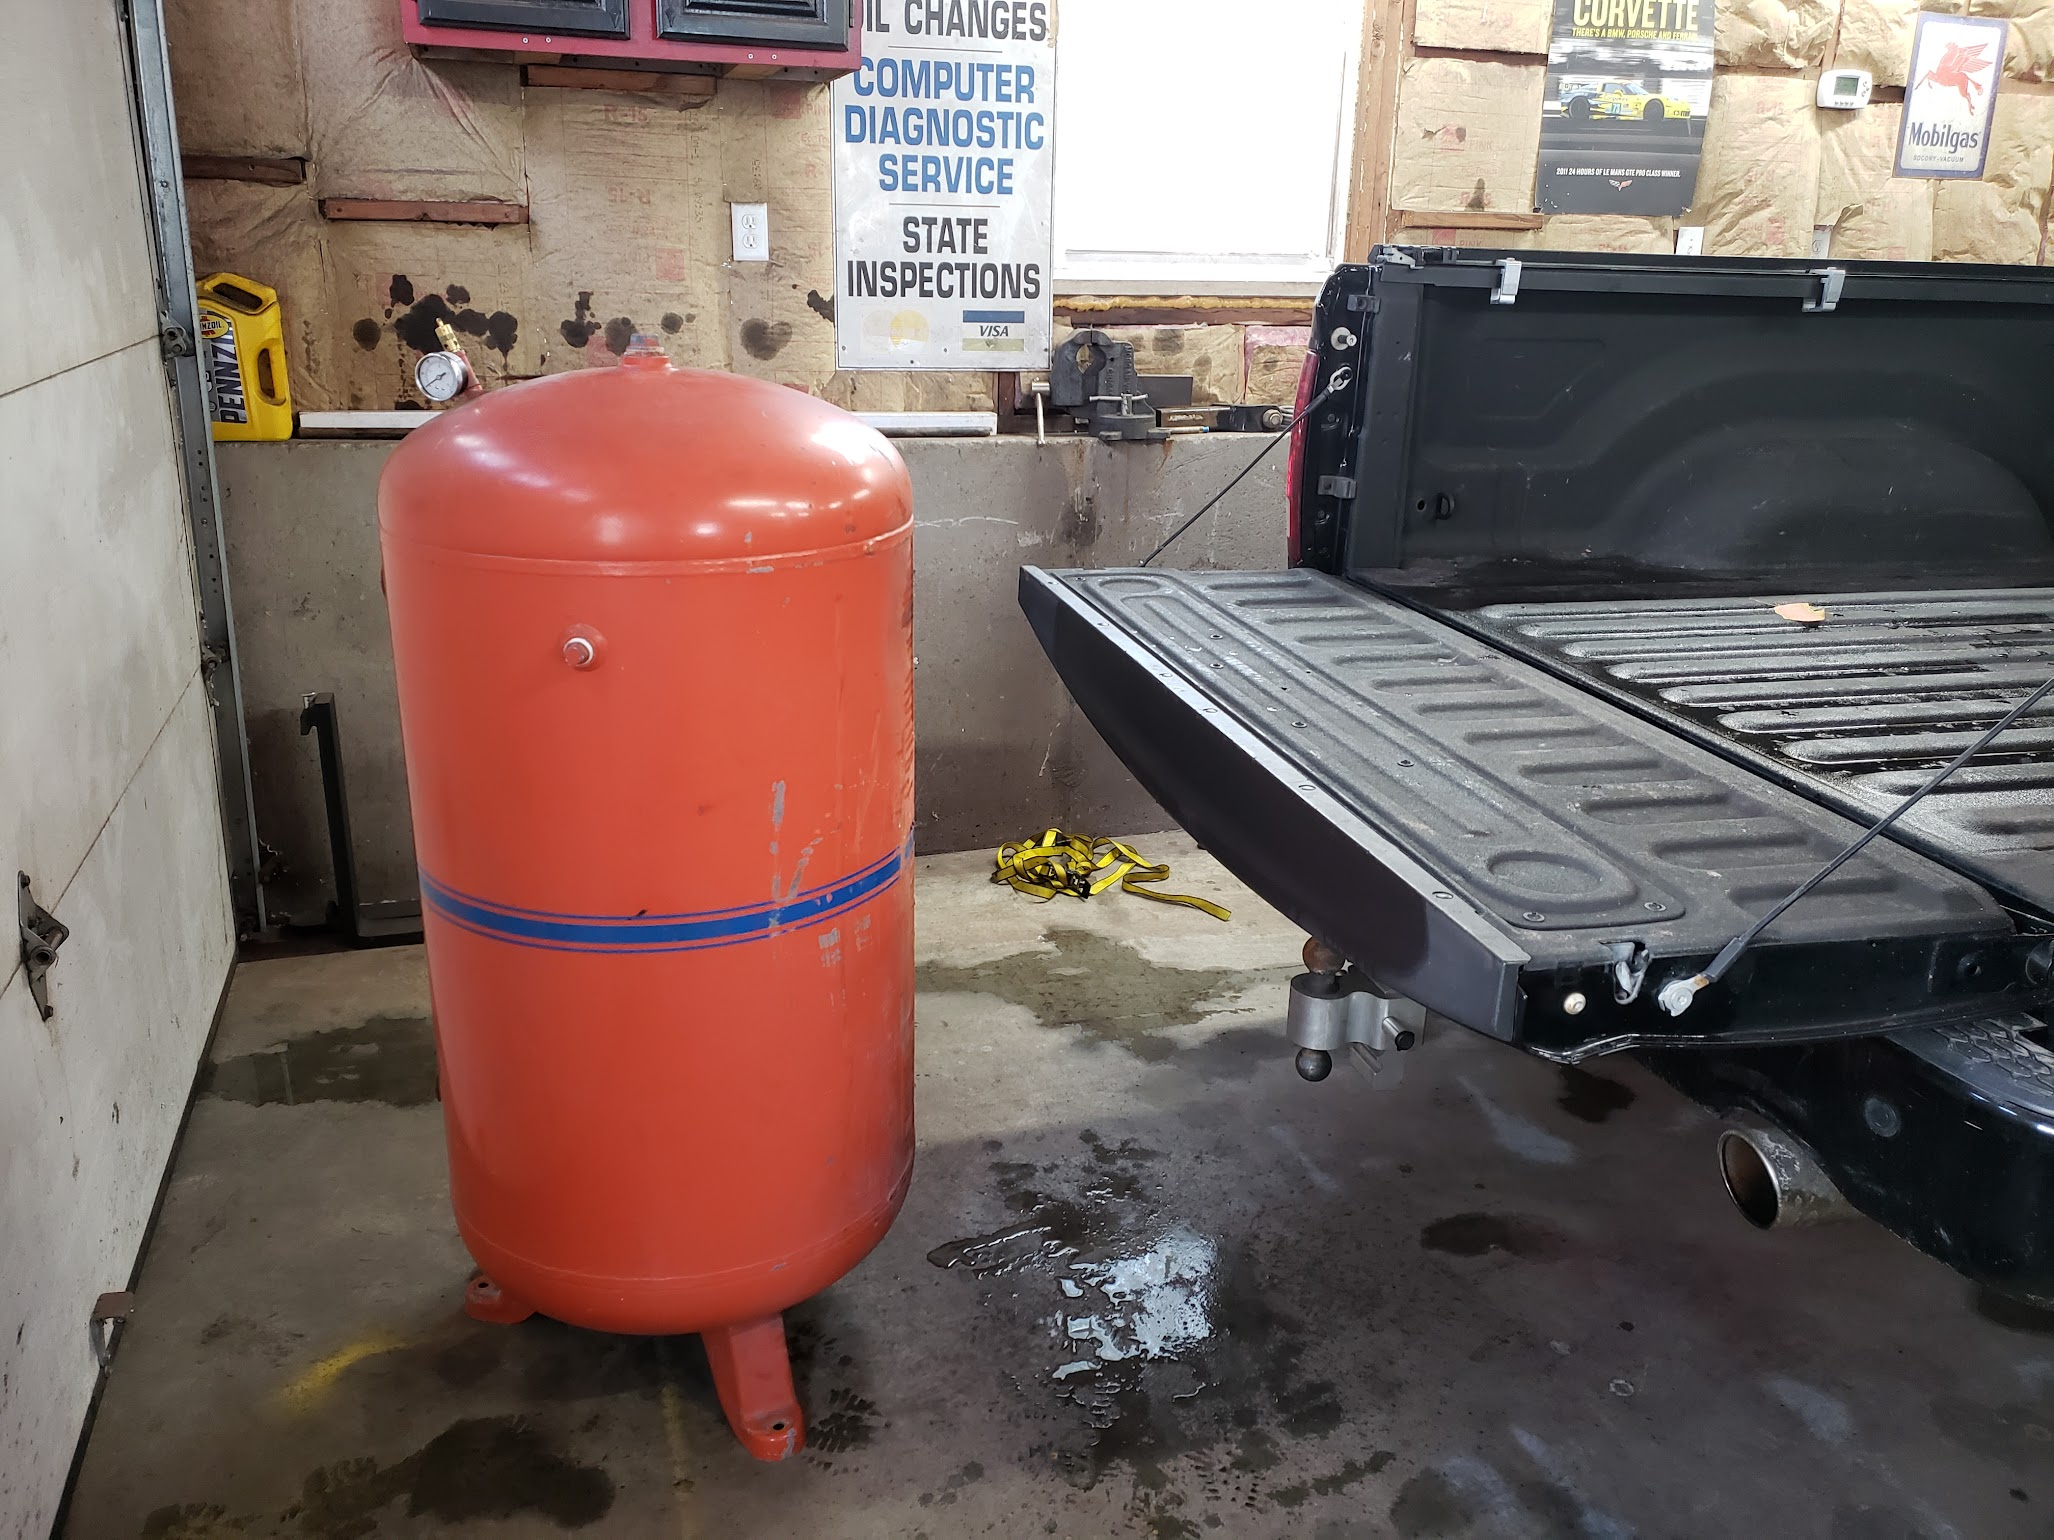
From this
What started as an air tank spawns a new life as a cooking chamber. Tanks are hand selected based on size, wall thickness and condition.
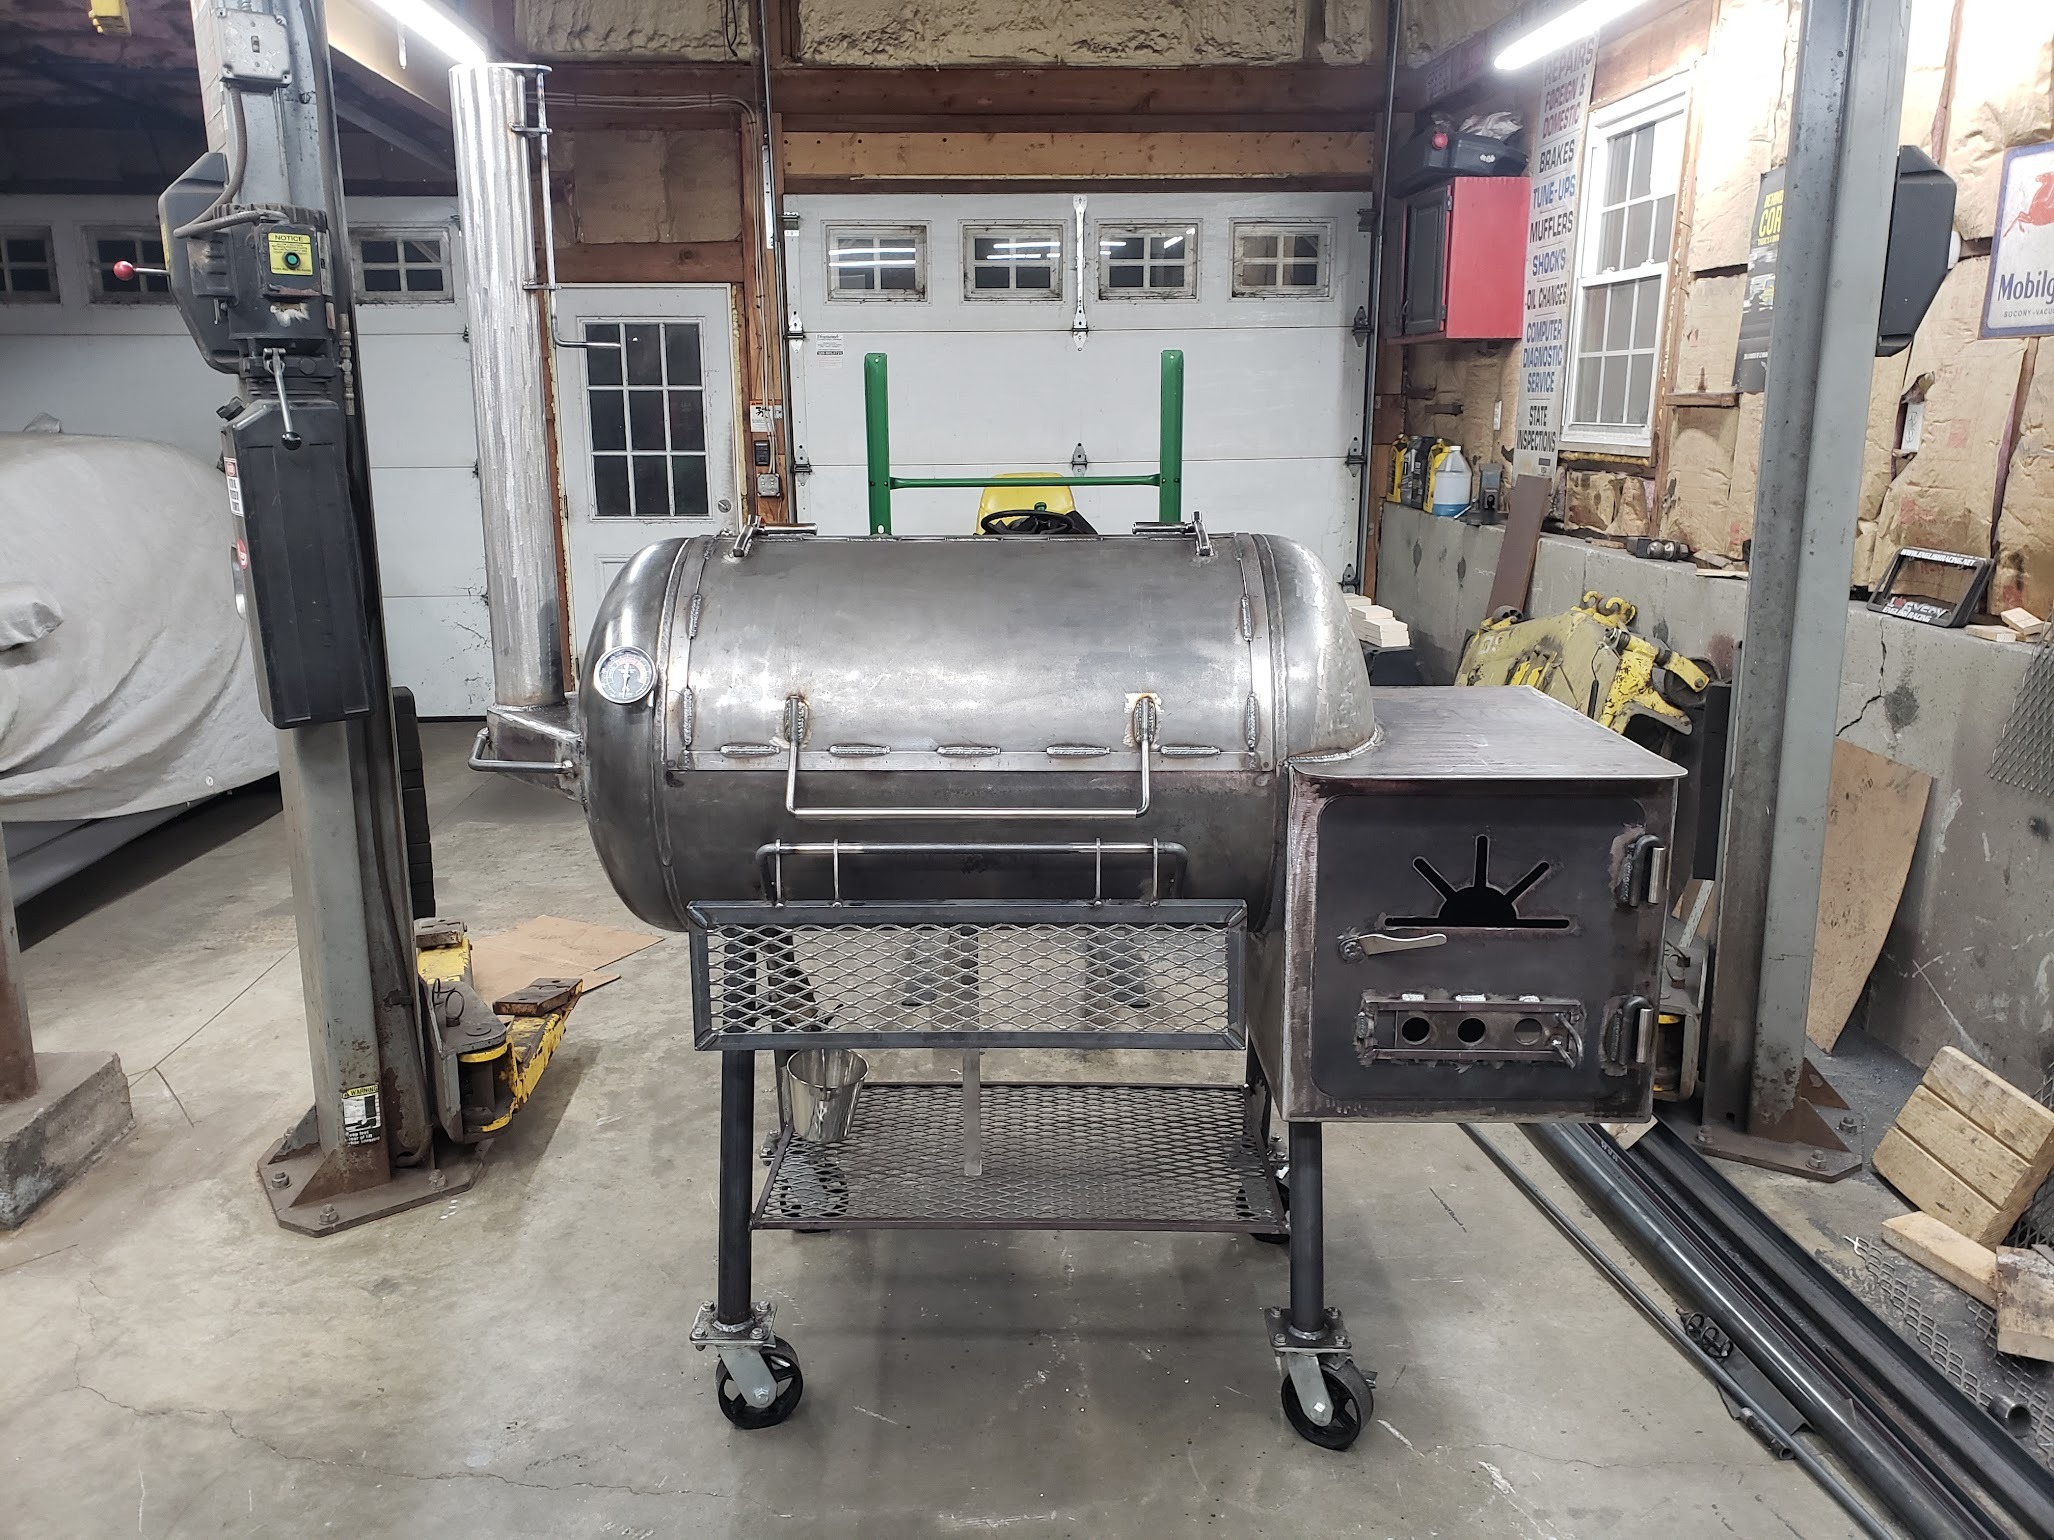
To this
After many hours of meticulous fabrication, the final weld is complete, the thermometer is installed and unit is burned in, the Smoker is ready for its first fire!
Air Tank to Cook Chamber
The start to the smoker. The hand selected air tank will become the cook chamber. Each tank is hand selected based on strict quality standards. Typically older tanks are of higher quality than newer units mainly in the thickness of the metal. I only use tanks that are in good usable order are are of a minimum thickness. Since these tanks are used and typically sourced from tired air compressors its also eco friendly keeping them out of the trash and giving them a new repurposed life.
Tanks come in many difference sizes and not all tanks are created equal. Again, a minimal wall thickness is required to keep the quality up and even the sizes dimensionally can defer from tank to tank. The 80 gallon smokers I use specifically are of the 24" diameter vs 20" diameter that some of the 80 gallon tanks are also offered.
Precisely Cut and Welded
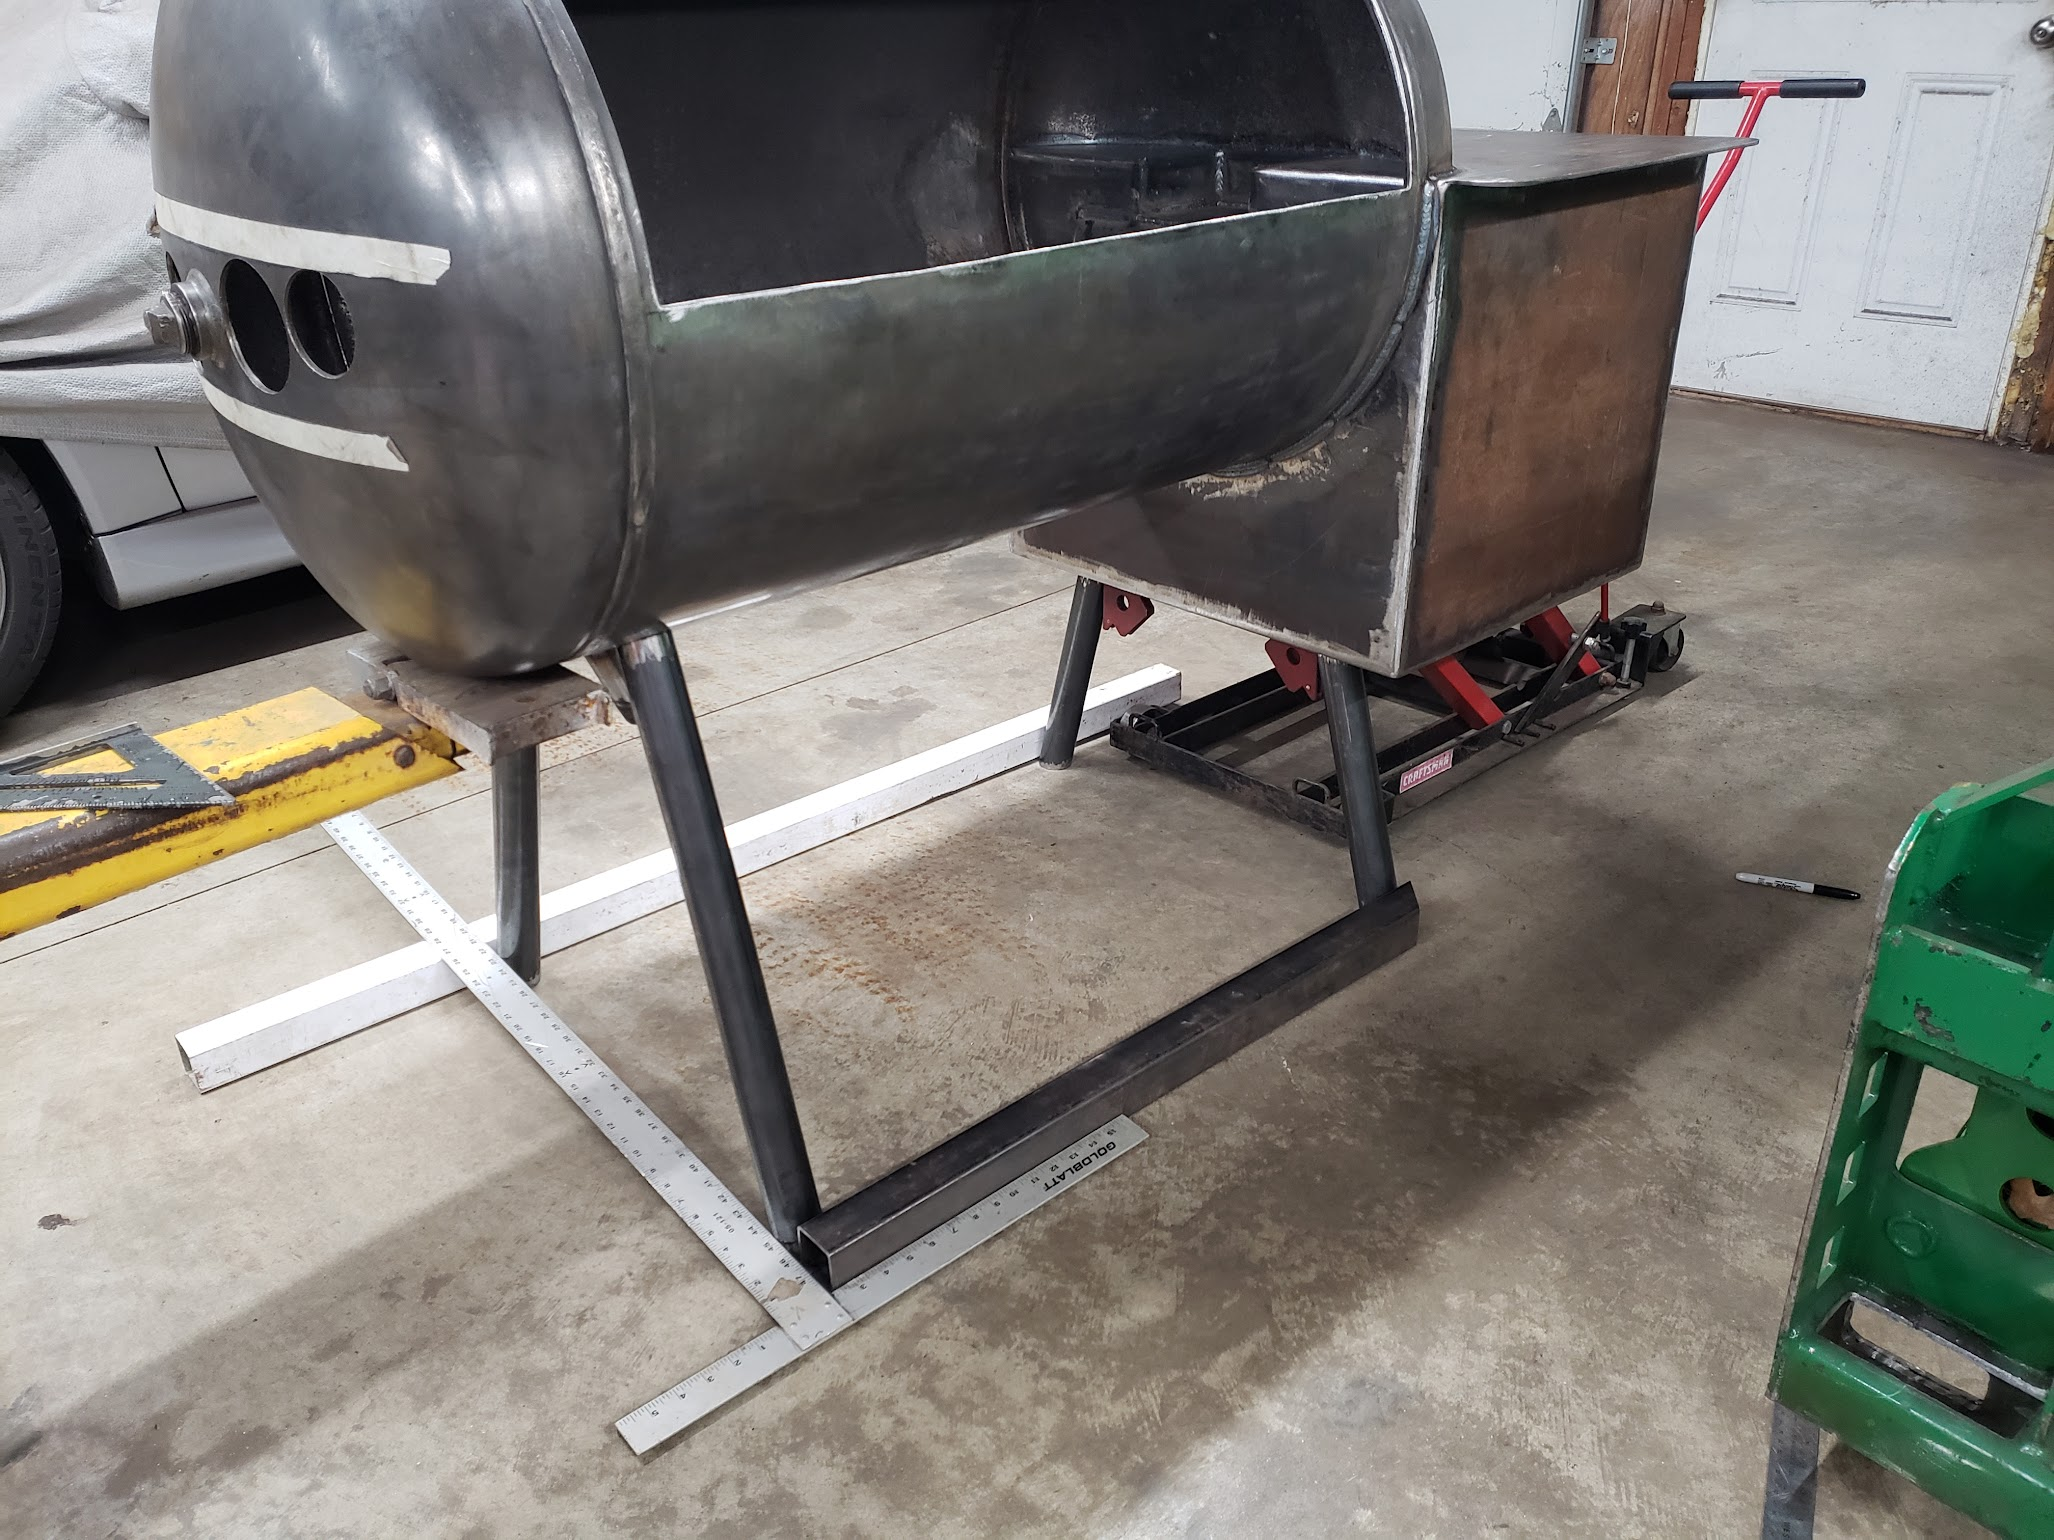
Each air tank has various ports and bungs that will be cut out and meticulously filled in with metal. The door cut out and bottom portion also cut where tank will be fit up and welded to the firebox.
Cook chamber door is trimmed out and welded together. The door trim serves multiple purposes. It acts as a flange to seal the door helps brace the door so it doesn’t warp from the heat cycles and also aesthetically adds some design to the piece
The Firebox
Built from scratch and hand cut out of plate steel with a plasma torch. Fit up of the plate steel is crucial to the structure and integrity of the firebox. Proper fit up allows for full penetration welds which offers maximum strength and durability. Firebox is all welded up. Every inch along the perimeter is welded fully which makes up the box. The welds are then ground down smooth. Logo is cut out and cleaned out and the damper is made along with the latch and hinges. Again, everything is made by hand.
Smoothed and Assembled
Outside corners are ground smooth and gives the appearance of being made from one piece of steel. Whereas some pits will use a simple elbow I feel the collector offer better flow characteristics for a smoother transition and also looks much nicer. Edges are ground smooth and anywhere that is to be welded is ground down. Milscale must be removed and shiny metal is exposed. There is no shortcuts taken here and this is a critical step to any welding to have a strong weld.
Once legs are tacked in place smoker is moved onto the welding table and tack welded to the table. This helps to reduce distortion when welding and helps keep things square. Once the legs are welded and fully cooled off they are cut off the table.
Finishing Touches
Racks are in place and rails also welded in place. Both top and bottom racks slide which is quite unique to have the both slide while still sitting flush on the bottom. Smoke stack is also welded into place and firebox door is cutout.
Caster wheels are bolted onto the baseplates. By bolting on the casters vs welding them, if they ever need to be replaced or say someone wants to opt for a different wheel, the wheels can be replaced into their preference.
Finished Product
Firebricks are cut and installed into the smoker and it it oiled down and ready for its first burn! The oil forms a protective layer that helps keep the smoker from rusting and offers a nice patina.


